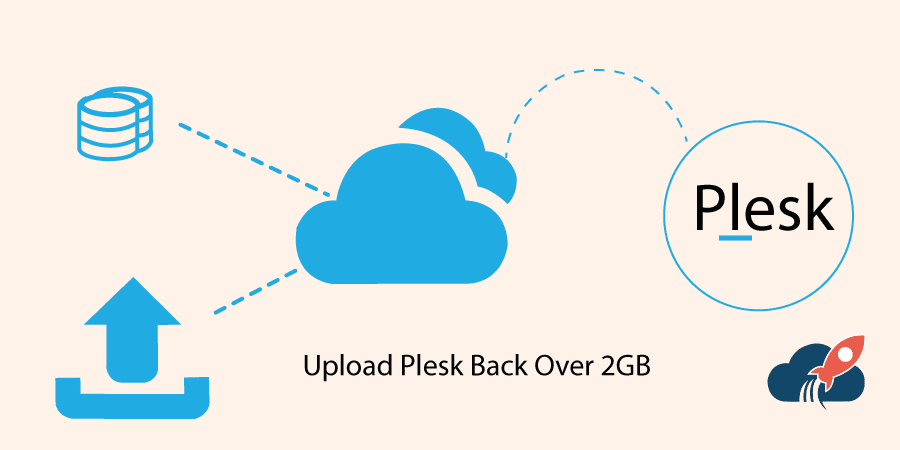
Upload Plesk Backup over 2GB
Uploading a large Plesk backup file over 2GB can be a challenging task due to limitations set by web servers and hosting environments. However, there are several workarounds you can try to accomplish this. Here’s a step-by-step guide on how to upload a Plesk backup over 2GB:
If you are in hurry and want urget solution, you should reach your web hosting provider. If you are not comfortable performing it yourself, you can reach out to your hosting provider’s support team. They may assist you in uploading the backup file or increase the upload size limit temporarily to accommodate the larger file.
Increase Maximum upload through control panel
This step-by-step guide is same for both Linux and windows based Plesk servers.
- Open Plesk control Panel
Open up your Plesk control panel and navigate to Go to Website & Domains.
- Select the Website
In this step you have to select the website you want to upload the backup.
- Go to PHP Settings.
Now go to the php settings of the selected site and select the option “post_max_size”. Now here you can change increase the maximum upload size of any plesk back. If your backup is around 2GB you should set the maximum size 3GB.
- Apply Change
On scroll down you will find “apply changes” button, click on it to save the change you made.
Note: After changes its compulsory to clear the cache of browser, and server too, Otherwise you may face same issues even after increasing the maximum upload size.
Using FTP (File Transfer Protocol):
- Break the backup file into smaller parts: You can use a file splitting tool like 7-Zip or WinRAR to divide the large backup file into smaller, manageable parts (e.g., 1GB each).
- Upload the split files using FTP: Connect to your server using an FTP client (such as FileZilla) and upload the split backup files to a specific folder on your server.
- Log in to Plesk: Access your Plesk control panel.
Using Remote URL
If your Plesk backup file is accessible via a URL (for example, if it’s hosted on another server or cloud storage), you can use the Plesk interface to restore directly from the URL. In the Plesk control panel, go to “Backup Manager” and click “Upload” and select “Upload from URL.” Enter the URL where the backup file is located and proceed with the restoration.
Concluding
If you are unable to resolve the issues even after trying all the above mentioned methods you should contact your hosting provider support team to check the issues. And if you have done with it let us know which method worked for you in the comment section.
Comment:


No Comments yet!