How to Install an SSL Certificate in cPanel for a Secure Website
In today’s digital world, website security isn’t just a nice-to-have—it’s a must. If your website isn’t secure, visitors are likely to bounce, browsers might warn users away, and search engines can even penalize your rankings. One of the most fundamental ways to secure your website is by installing an SSL certificate. Fortunately, if your hosting provider uses cPanel, installing an SSL certificate is straightforward. In this guide, we’ll walk you through how to install an SSL certificate in cPanel step by step.
What Is an SSL Certificate?
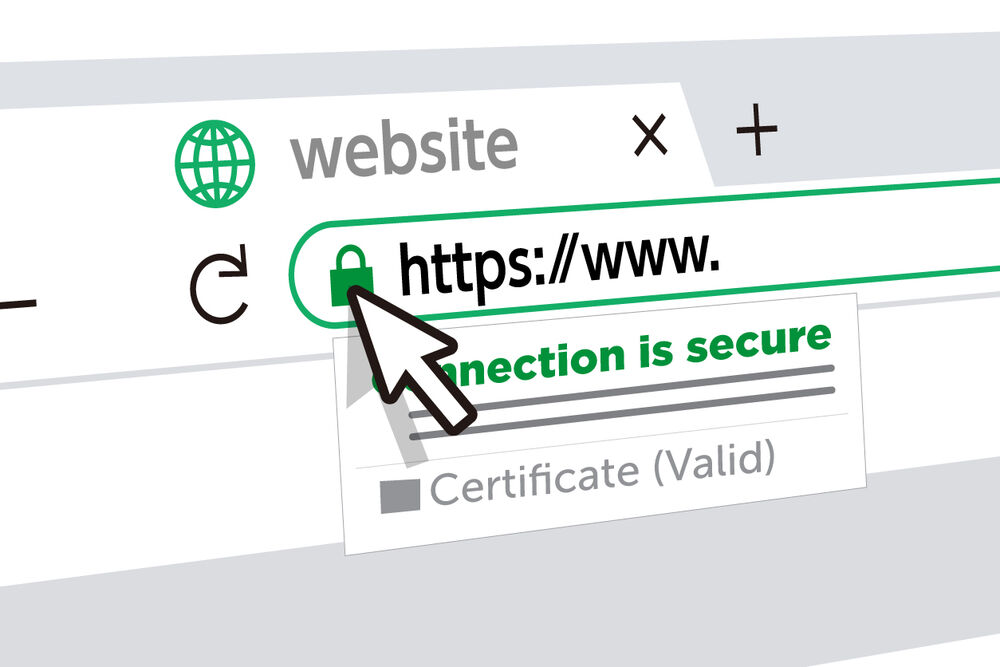
An SSL (Secure Socket Layer) certificate encrypts the data transferred between your website and its visitors. You’ll recognize a secure site by the “HTTPS” prefix and a padlock symbol in the browser’s address bar. This ensures that sensitive information—like passwords, credit card numbers, and personal details—is transmitted safely.
SSL is critical for:
Securing e-commerce transactions
Protecting login credentials
Enhancing SEO rankings
Building trust with your visitors
Step 1: Purchase or Generate Your SSL Certificate
Before you install anything, you need to have an SSL certificate in hand. There are several options:
Free SSL certificates like Let’s Encrypt (often available directly in cPanel)
Paid SSL certificates from providers like Comodo, DigiCert, or GlobalSign
Wildcard or multi-domain SSL certificates for more advanced needs
If your hosting provider offers free SSL (like many do), you may not need to purchase anything. Otherwise, after buying your SSL certificate, you’ll either receive the certificate files or need to generate a Certificate Signing Request (CSR) to begin the process.
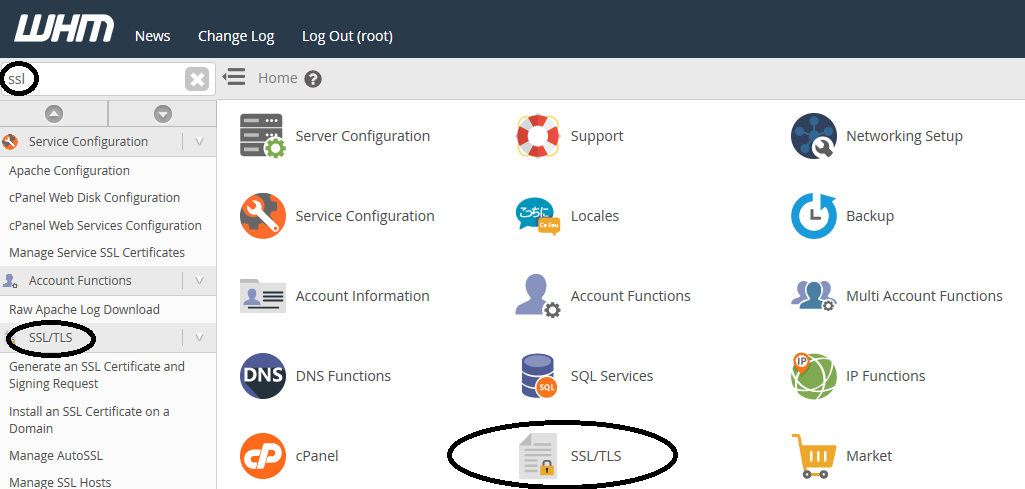
Step 2: Generate a Certificate Signing Request (CSR) in cPanel
If your SSL provider requires a CSR, here’s how to generate one:
Log in to your cPanel account.
Scroll down to the “Security” section and click on SSL/TLS.
Under “Certificate Signing Requests (CSR),” click Generate, view, or delete CSRs.
Fill out the required details:
Domain name (e.g., yourdomain.com)
City, State, Country
Company Name (or your personal name)
Email address
Passphrase (optional, but secure)
Click Generate.
You’ll now see the CSR text block. Copy this and submit it to your SSL certificate provider. They’ll use it to generate your certificate.
Step 3: Receive the SSL Certificate Files
Once your SSL provider processes the CSR, they’ll send you several files, typically including:
Yourdomain.crt: Your primary SSL certificate
CA Bundle / Intermediate Certificates: These complete the chain of trust between your certificate and a root certificate authority
You’ll use these files to complete the SSL installation in cPanel.
Step 4: Install the SSL Certificate in cPanel
Now, it’s time to install the certificate itself:
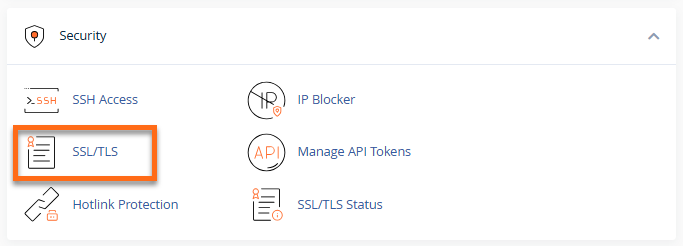
Go back to your cPanel dashboard.
Under the “Security” section, click on SSL/TLS.
Click Manage SSL sites (under “Install and Manage SSL for your site (HTTPS)”).
Scroll down to Install an SSL Website.
Choose the domain from the dropdown list.
Paste the contents of your .crt file into the Certificate (CRT) box.
The system might automatically fill the Private Key field if it was generated in cPanel earlier. If not, paste it manually.
Paste the contents of the CA Bundle into the Certificate Authority Bundle (CABUNDLE) box.
Click Install Certificate.
cPanel will process the SSL certificate and apply it to your domain. If everything is correct, you’ll get a confirmation message saying the SSL certificate has been successfully installed.
Step 5: Verify the SSL Installation
Once the certificate is installed, test it to ensure it’s working properly. You can:
Visit your site with https://yourdomain.com and look for the padlock icon in the browser.
Use tools like SSL Labs SSL Test to verify proper installation and configuration.
If everything looks good, congratulations—your site is now secure!
Step 6: Force HTTPS on Your Website
Although the SSL certificate is installed, visitors can still access your site via HTTP unless you redirect all traffic to HTTPS.
Option A: Use .htaccess File (for Apache Servers)
Add the following code to your .htaccess file (located in your website’s root directory):
In cPanel, go to the Domains section and click Redirects.
Set up a 301 permanent redirect from http:// to https:// for your domain.
This ensures all users are automatically redirected to the secure version of your site.
Step 7: Update Your Site’s Internal Links
After setting up SSL, make sure all internal links, image sources, scripts, and stylesheets use https:// instead of http://. Otherwise, users may see a “Mixed Content” warning in their browser.
Use tools like:
Better Search Replace (WordPress plugin)
Search and replace tools in your CMS
Manual updates in your HTML/CSS files
Step 8: Update Google Search Console and Analytics
Now that your site is running securely under HTTPS:
Add the HTTPS version of your site to Google Search Console.
Update your Google Analytics settings to reflect the HTTPS version.
If you use a sitemap, make sure it reflects the correct HTTPS URLs.
These updates help maintain your SEO rankings and ensure accurate traffic tracking.
Troubleshooting Tips
Sometimes, things don’t go as smoothly. Here are common issues and solutions:
Certificate doesn’t show up in browser: Make sure the DNS is pointed to the correct server and allow some propagation time.
“Untrusted Certificate” error: You may have missed uploading the CA Bundle.
Mixed content warning: Update all your site resources to use HTTPS.
If you’re stuck, contact your hosting provider’s support—they can often help troubleshoot and install SSL certificates if needed.
Conclusion
Installing an SSL certificate in cPanel is a powerful step toward securing your website and building trust with your visitors. Whether you’re running a blog, portfolio, or full-scale e-commerce site, securing your domain with HTTPS is no longer optional—it’s essential. From generating a CSR and submitting it, to uploading and activating your certificate, cPanel makes the process fairly seamless.
Now that you know how to install an SSL certificate in cPanel, your website is one step closer to being safer, faster, and more trustworthy for every visitor who drops by.
Power Your Website with Tezhost – Fast, Secure, and Affordable Hosting Solutions
Looking for reliable web hosting that won’t break the bank? Tezhost offers powerful hosting solutions tailored for businesses, bloggers, developers, and e-commerce sites. With 99.9% uptime, blazing-fast SSD servers, and 24/7 expert support, we ensure your website stays online and performs at its best.
Whether you’re launching a personal blog, scaling your online store, or managing multiple business sites, Tezhost gives you the tools and security you need—including free SSL certificates, one-click app installs, and full cPanel access.


No Comments yet!