Are you planning to make a website on WordPress? Do you want more traffic on your website? Your problem is solved! and the solution is…Landing Page! So, in this article, we will learn how to create a landing page on a WordPress Website – step by step.
Let’s first have a look at the basics of a Landing page.
What Is A Landing Page?
It is a page of your website that is mainly intended to use as a contact form to get a visitor’s attention and their details, like an email address. In accordance with the product, you are marketing, they are made to target a particular audience.
A squeeze page that directs visitors to the primary website can also be a landing page. The number of landing pages you have on your website is entirely up to you. The possibility of obtaining more leads increases with the number of landing pages you have.
Methods to build a landing page
3 methods are used to build a landing page effectively.
- Using a landing page builder
- Using a theme with a landing page
- Using a WordPress plugins
Fundamentals Of Landing Page
Although there are no hard and fast rules for what a landing page should have. However, by research, we have noticed some important aspects of a landing page that attracts audiences.
- Email Contact
- Registration Form
- Newsletter Sign up
- Chat section
- Event Announcements
- Purchase
- Testimonials
- CTA (Call To Action)
Difference Between Homepage And Landing Page
A landing page is frequently confused with a home page of a website.
When users type your domain name in their browser, they will see your homepage, which is the first page of your website. In contrast, a landing page can be a single page where the majority of visitors are from paid or external traffic sources.
You can construct as many landing pages as you like for various campaigns, but your website can only have one homepage.
The homepage of your website should encourage users to interact with it, visit other pages, look at products, or register. Additional links are present, giving users more options.
A landing page, often known as a squeeze page, on the other hand, is designed for increased conversion rates. It contains fewer links and is made to allow people to either make a purchase or provide their contact information for upcoming events.
How To Create A Landing Page On A WordPress Site?
Now that you know all the basic information about a landing page, let’s learn how to create one. In this guide, we will focus on making a landing page using a Web Builder.
We will make a dummy of a landing page, which will include:
- Hero Section
- Navigation pan
- About
- Gallery
- Features
- Form
- Testimonial Section
- Footer
Creating A Landing Page Using A Web Builder (Elementor)
In this guide, we will take Elementor, as an example web builder, to create a landing page.
Step 1: Installing Elementor
The first and foremost step is to get Elementor to installed on your WordPress site.
- Go to the plugins and click to add new.

- Now, search Elementor using the search bar.
- The final this is to click ‘Install Now to add the plugin.
Step 2: Optizimization
In this step, you have to select the layout, fonts, and colors.
- Go to ‘Add New’ in Pages

- Click on ‘Edit with Elementor’.
- Head on to the settings of Elementor at the bottom left of the page.
- Then, set the layout with ‘Elementor Canvas’.
- Now, Publish the page.

Step 3: Creating a Hero Page
It’s time to build a Hero Page.
You must be thinking, what is a Hero Page?
The word “hero image” refers to the large banner image at the top of a webpage. Because of its prominent positioning at the top of a webpage, which typically stretches full-width, it is also referred to as a “hero header” and serves as a user’s first impression of your business and service.
First, select a single column or a two-column section by clicking on the “+” icon of the Elementor area (preferable). You can display your title, subheading, and image or video side by side by using a two-column section.
To add headings, drag and drop two “heading” widgets from the block area. For the primary heading, use the HTML tag H1, and for the subheading, use H2 or H3.

Now, the question is, what should you consider in the heading? The answer is, that the title should briefly summarize the services you are providing, and the subheading will elaborate on that concept in two phrases.
- Next, you have to add CTA (Call-TO-Action) button. The button should be eye-catching to the audience.
You can check the ‘ElementsKit icon’ and choose a CTA icon from there.
- Now, once you have chosen the icon, click ‘insert’ and set the font, layout, and color theme.
You can also add the ready-made Hero Page by simply clicking ‘Add Template’ from the Elementor content area.
Step 4: Creating Navigation Area
Now, create a Navigation Area.
- To add it, click on the ‘Add Template’. It will take you to the library area.
- Then, go to ‘Blocks’ and choose the ‘Header’.
- You can add the ‘About’ and ‘Feature’ sections following the same method.
Step 5: Creating Gallery Area
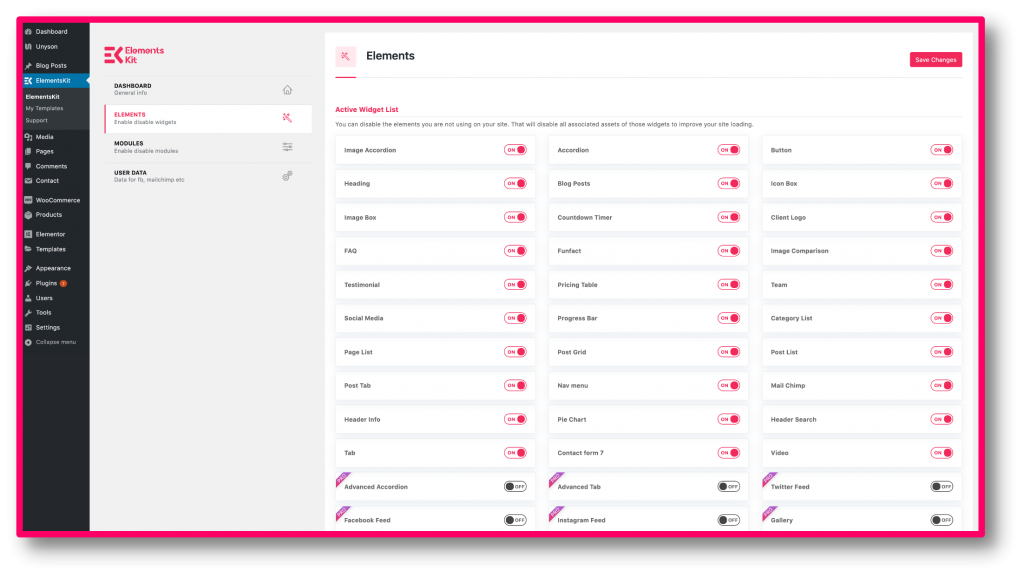
- For making a Gallery area, go to ‘Elements’. There you will see Widgets. search ‘Widgets’.
- Go to the ‘Gallery’ area.
- After that, add the content and set the layout.

Step 6: Create Contact form & Contact Area
Contact Form and Area, are the last and the most important to set up. If you want the site visitors to get in touch with you, a contact form must be included on the landing page. Despite the fact that there are several contact forms available, very few of them may be customized using Elementor.
You can quickly set up a contact form and adjust its layout to fit the entire website using Elementor’s visual form builder. Using the built-in form connectors in Elementor, you can also connect it to an email marketing service without any issues.

If you want more informative guides, head on to our blogs section!